

- 1 piece Sapale body, AAAAA flame maple top. Tobacco sunburst.
- Sapele neck, rosewood fretboard and ebony headstock overlay
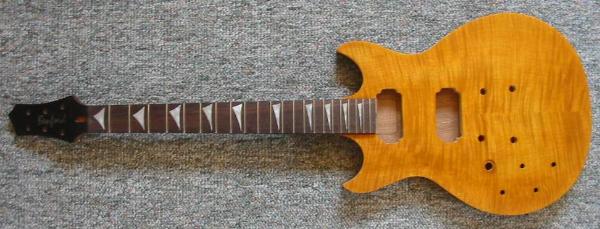
- Sail TM pearl inlays
- 3x3 headstock with Grover locking tuners. Pearl tuner buttons
- 24-3/4 scale, 22 fret
- Gibson '57 Classic humbuckers. Chrome covers
- Tonepros tune-o-matic bridge with stop tailpiece
- Electrosocket jackcup
- Chrome hardware
- Dunlop Straplocks
- Set neck
- 2 vols, 2 tones, 3-way switch.
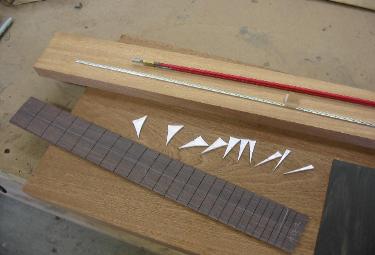
Body and neck wood. Dual action truss rod, and frets.
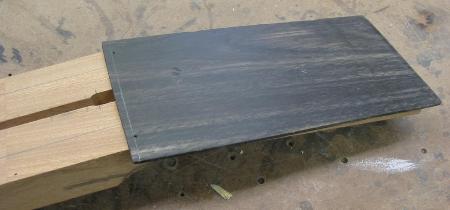
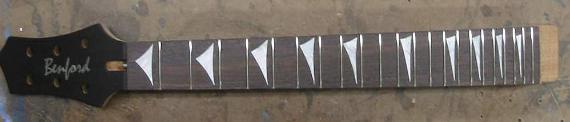
Rosewood 24-3/4 fretboard, Sail pearl inlays. Ebony
headstock overlay. Flame top not shown.
Rosewood 24-3/4 fretboard, Sail pearl inlays. Ebony
headstock overlay. Flame top not shown.
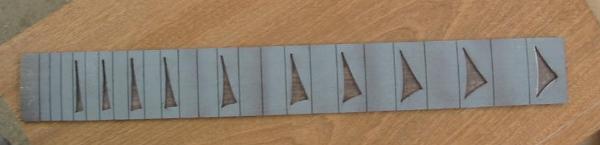
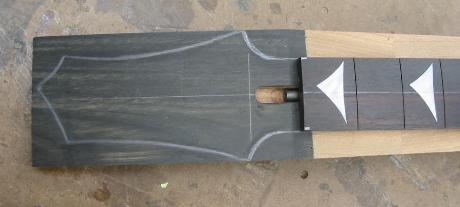
Inlays get aligned to a center line then temporarily
glued in place.
glued in place.
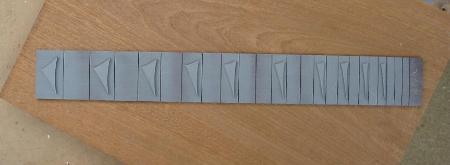
The entire fretboard then gets a light
coat of grey primer sprayed over it.
coat of grey primer sprayed over it.
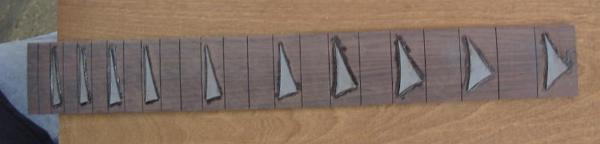
The primer gets sanded off, and the
inlays get glued in place.
inlays get glued in place.
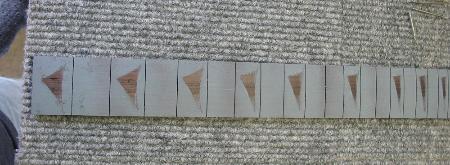
The inlays gets popped off the reveal
the area which we need to route away.
the area which we need to route away.
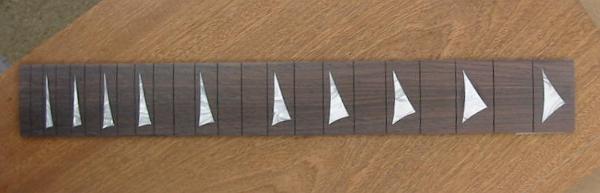
Inlays routed
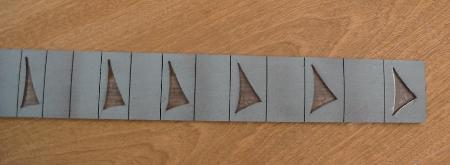
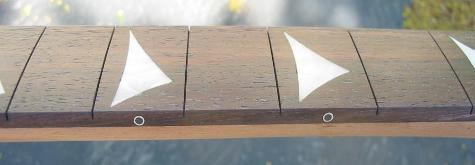
Here we see the inlays after they are
level sanded to the board. The whole
inlay process took about 3 hours.
level sanded to the board. The whole
inlay process took about 3 hours.
4/15/10
4/17/10
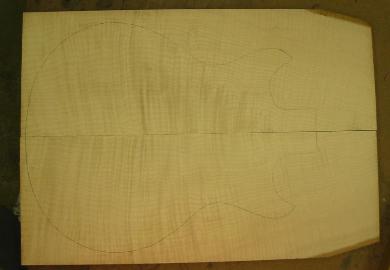
Adams flame top ready to be glued up Gluing up the top
4/19/10
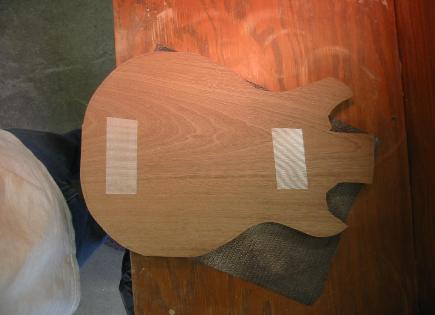
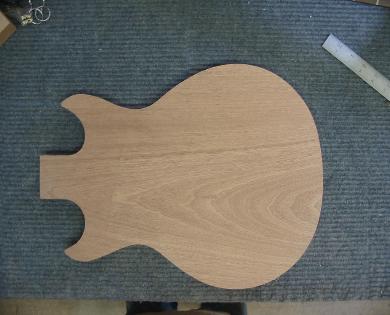
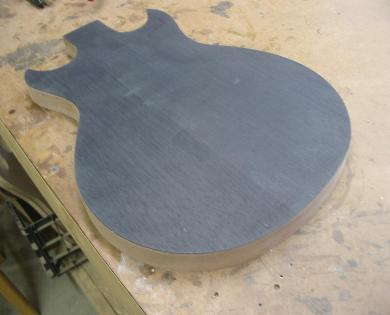
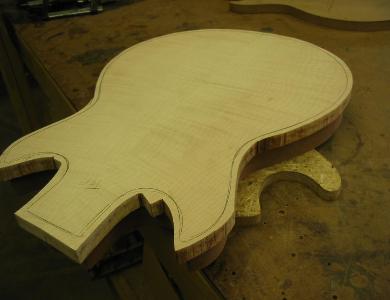

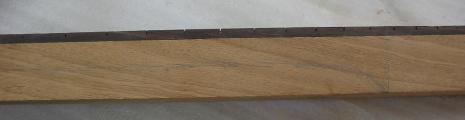
Body blank rough cut and ready to final shape. Final shape
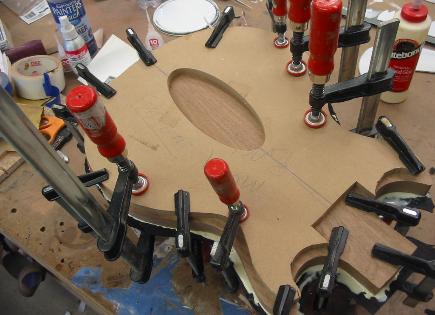
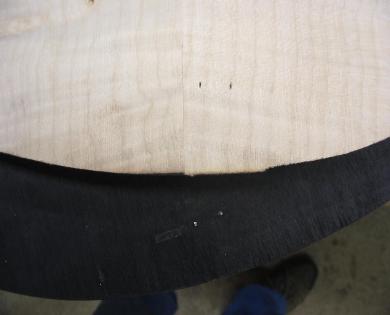
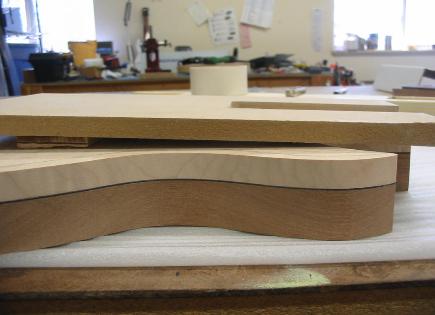
Gluing contrast stripe to body Contrast stripe trimmed to fit
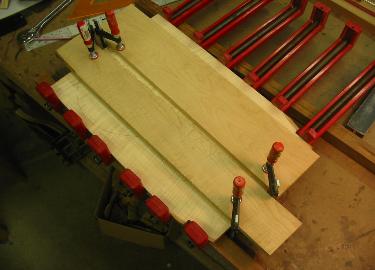
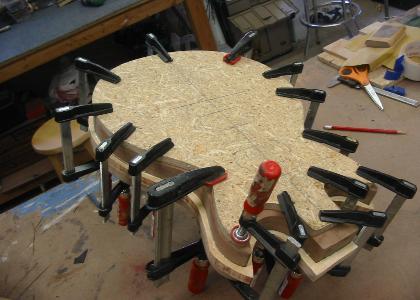
Clamping top to body Top glued up and ready to final shape
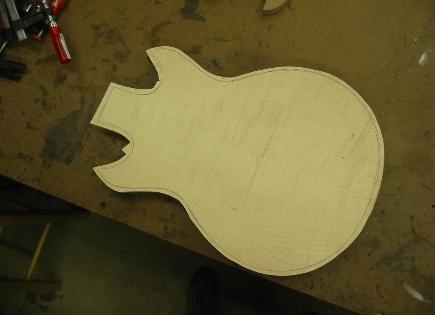
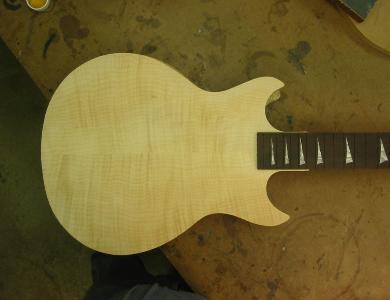
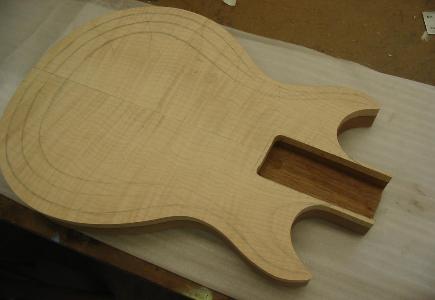
Top trimmed flush to body. Check out the contrast stripe! Body with the fingerboard laying on it for fun
Flame top rough cut and ready to glue to body blank Two locating pins in body. This keeps the body
from sliding around during glue up.
from sliding around during glue up.
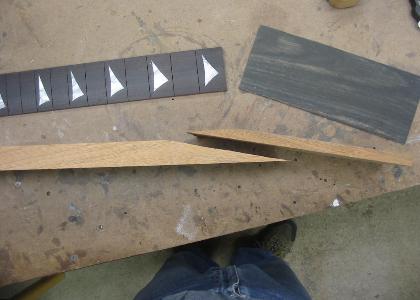
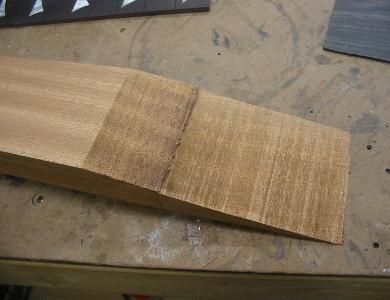
Neck blank scarf joint cut. Both pieces ready to finish sand for gluing
Gluing up the neck.

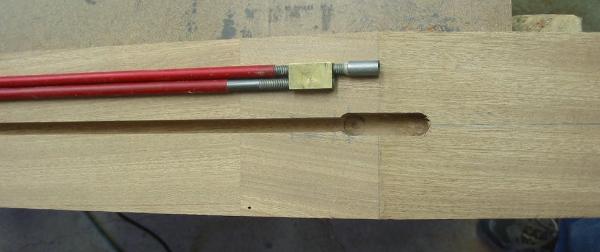
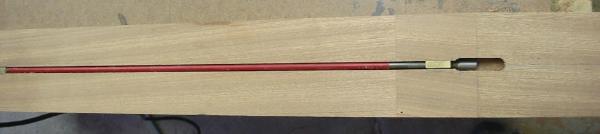
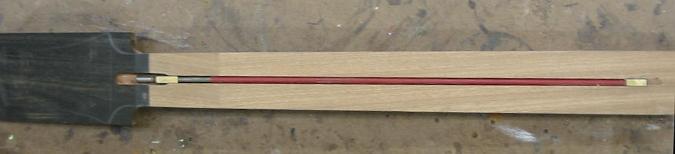
Dual action truss rod
channel routed.
channel routed.


Fingerboard trimmed to size
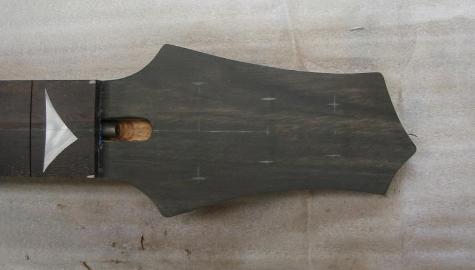
Headstock thicknessed & front half of the volute started.
Gluing on ebony headstock overlay
Ebony headstock overlay glued and ready to be trimmed Trimmed overlay, T-Rod slot routed and headstock laid out

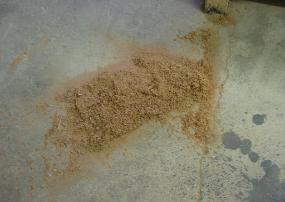
Neck trimmed to size The mess trimming made
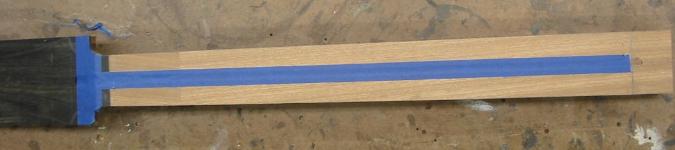
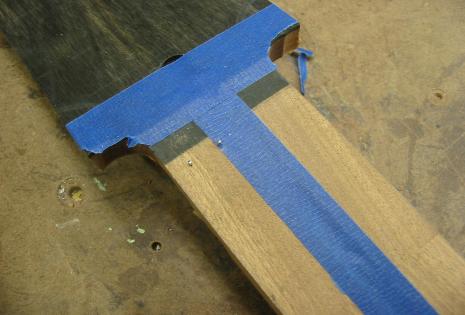
Neck taped off. The truss rod channel gets taped off so glue doesn't get down in there
when gluing up the fretboard
when gluing up the fretboard
2 locater pins in neck. This helps align the fretboard and
keeps it from slipping during glue up.
keeps it from slipping during glue up.
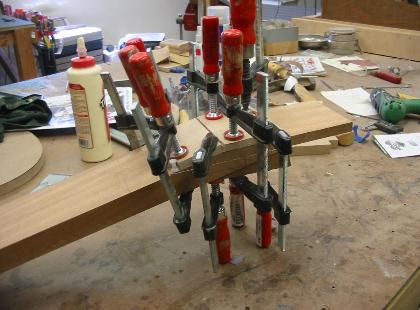
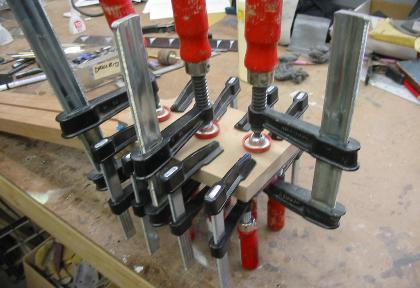
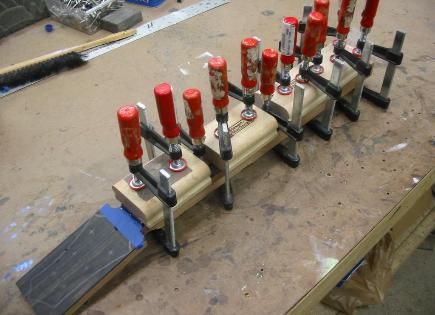
Clamp-o-rama. Clamping the fretboard
Glued up fretboard, ready for final dimensions
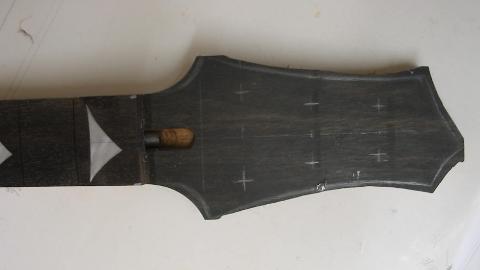
Headstock layout Headstock trimmed to size. Tuner holes come next.
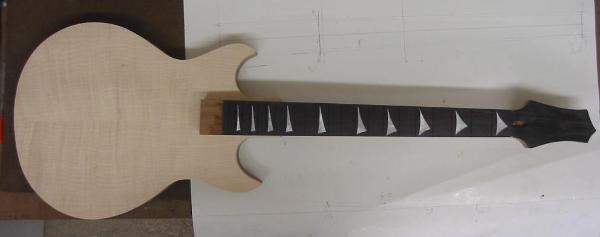
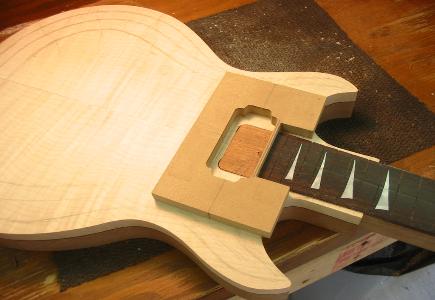
Overall look of the guitar. Wood at end of neck is the extra long tenon. This will be
hidden inside the neck humbucker route.
hidden inside the neck humbucker route.
4/29/10
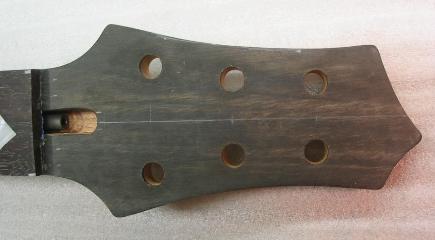
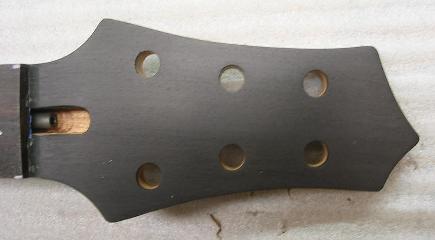
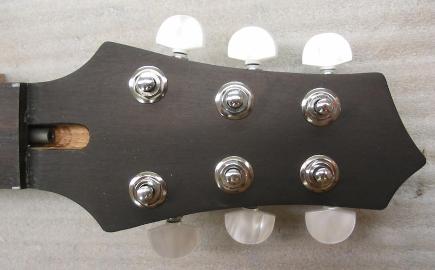
Tuner holes drilled, Ebony is very rarely uniformly black so.. It gets dyed! This is common practice with all the major guys.
Tuners test fitted. Yes I know they are crooked.
No they wont stay that way.
No they wont stay that way.
4/30/10
5/02/10
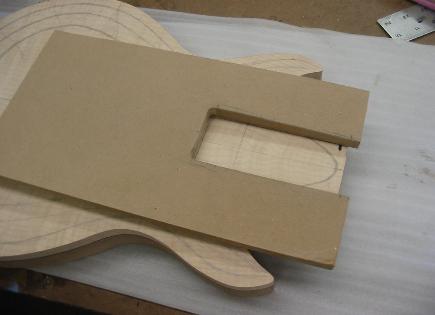
Laying out neck pocket template Neck pocket is routed at 3 degrees
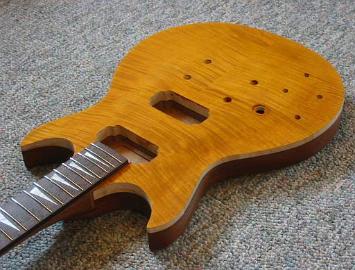
Neck pocket routed. Body carve guidelines visible. Neck humbucker routing template
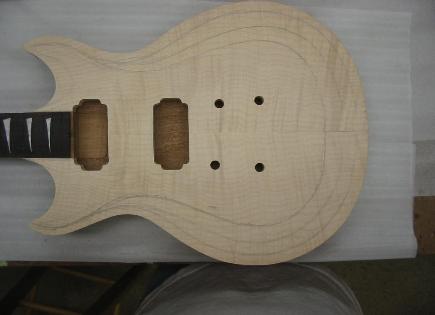
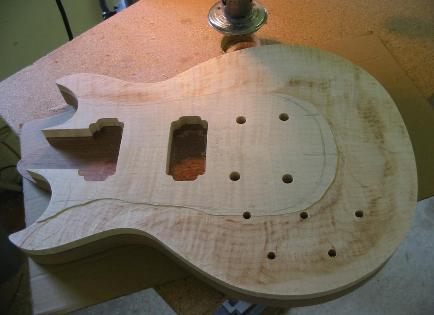
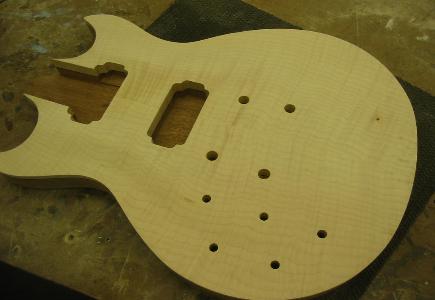
Neck and bridge pickups routed. Tune-o-matic bridge
and stoptail mounting holes drilled
and stoptail mounting holes drilled
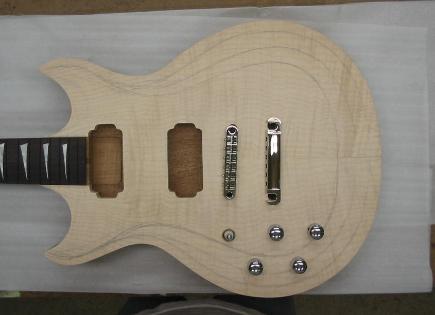
Hardware laid out
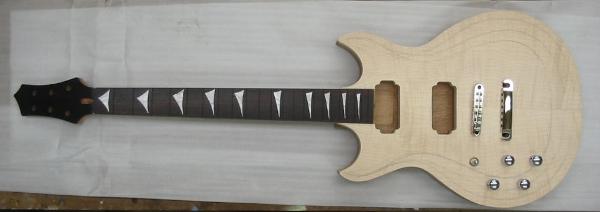
Overall body shot. Its starting to look like a guitar!


5/03/10
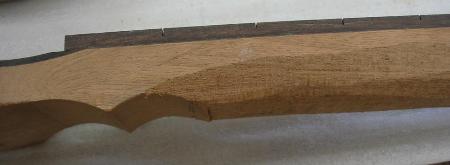
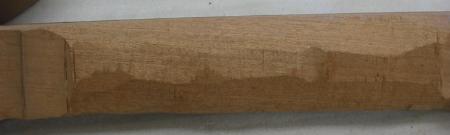
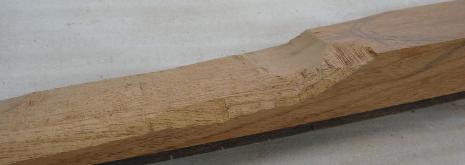
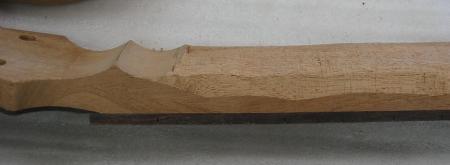
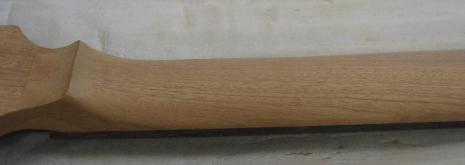
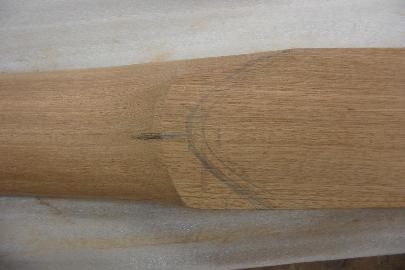
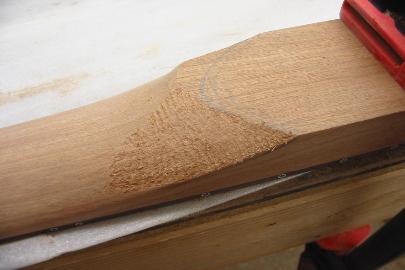
Neck carving process. From prefectly square, to butt ugly, to smooth and beautiful in about a hour!
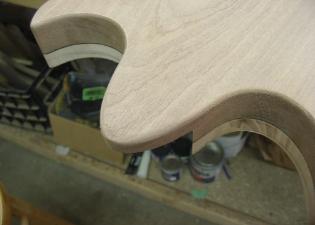
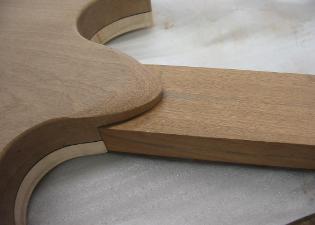
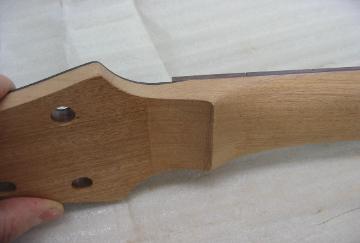
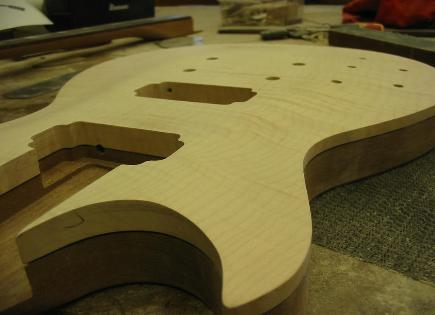
Shaping body heel Roughed heel against neck blank. Finished heel shown below.
Laying out belly cut Belly cut roughed out
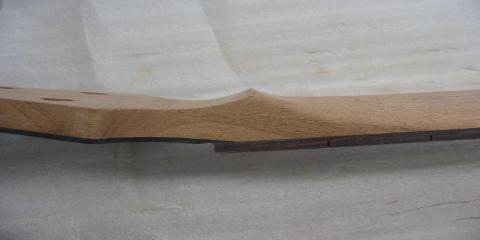
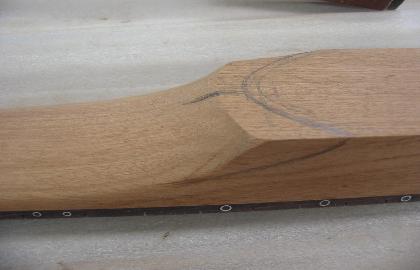
Getting ready to shape the volute
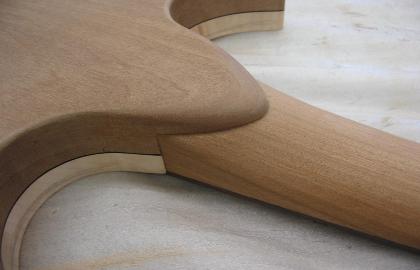

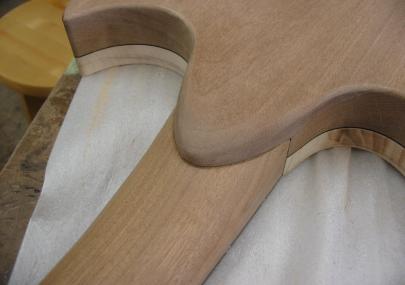
Roughing in the heel Finished neck and body heel
More shots of the neck and body heel
Laying out the neck heel carve


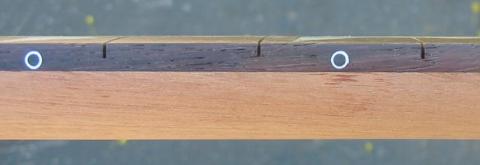
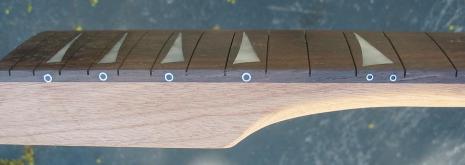
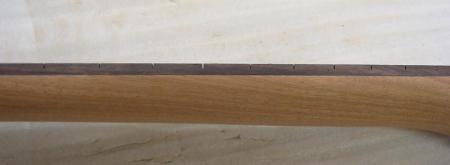
Drilling out side dot holes
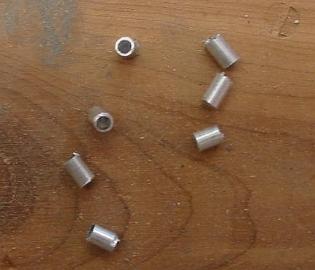
Homemade aluminium with black center dot inlays. Dot inlays installed and ready to flush sand
Side dot inlays installed and looking good. These are a first for any of my guitars. They will look great with the chrome hardware
5/04/10
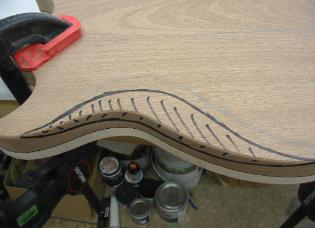
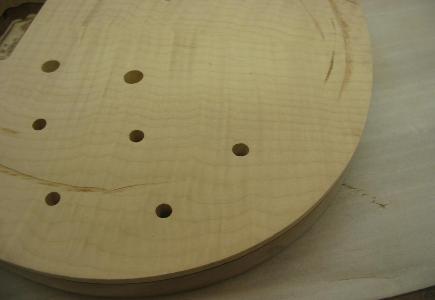
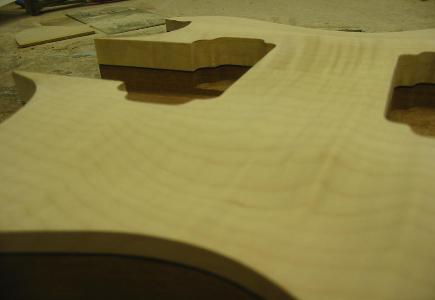
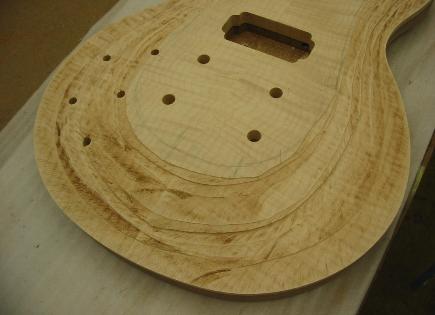
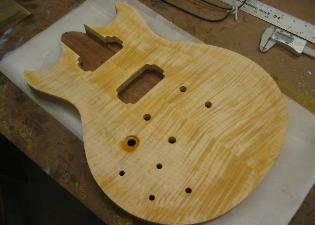
Starting top carve. "Steps" are carved using a Safe-T-Planer in a drill press. Each step is a 1/16th of a inch. Looks
horrible, but the beauty will come. The control holes get drilled before the carving begins.
horrible, but the beauty will come. The control holes get drilled before the carving begins.
More angles of the carve. Tough to photograph.
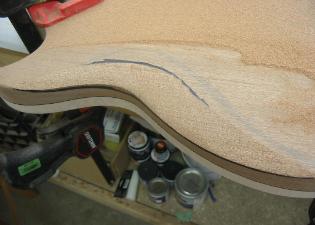
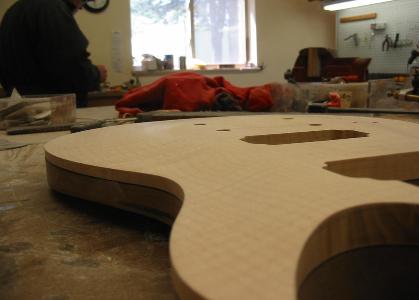
The steps then get smoothed together using sandpaper and scrapers. All smoothed out.
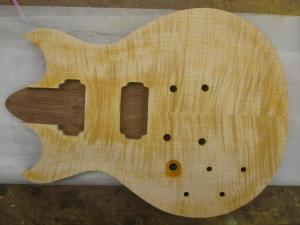
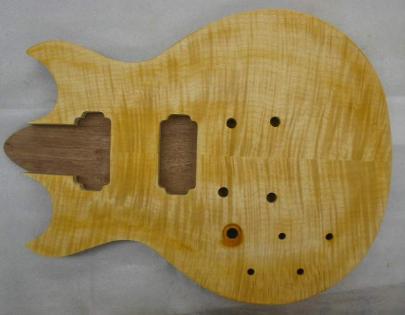

First coat of vintage amber dye. This will reveal any sanding scratches. The first coat gets sanded back quite a bit and leaves
just a bit of dye in the end grain of the top.
just a bit of dye in the end grain of the top.
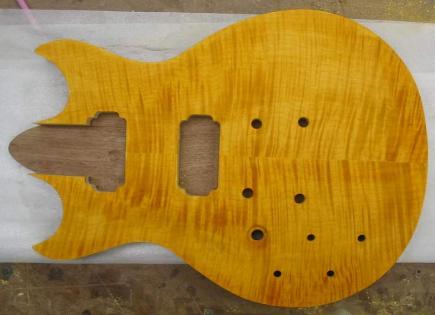
2nd coat of dye. More color soaks into the end grain making it more pronounced. That coat gets sanded back as
well. This 2nd sanding doesnt remove as much dye as the previous sanding.
well. This 2nd sanding doesnt remove as much dye as the previous sanding.
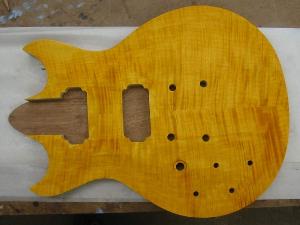
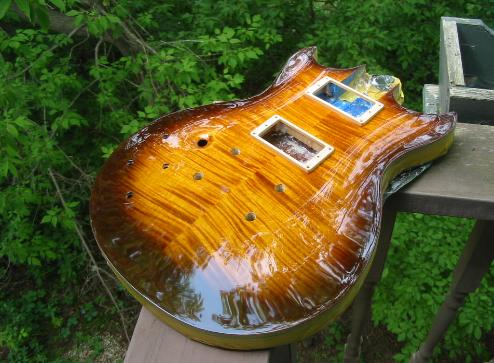
The 3rd and final dye coat. This really brings out the depth in
wood grain. Next will come some clear sealer coats, then the
tobacco sunburst followed by even more clear!
wood grain. Next will come some clear sealer coats, then the
tobacco sunburst followed by even more clear!
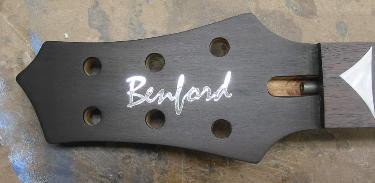
Headstock with chrome logo. Ready for clear. Full neck shot with frets installed
05/08/10
Full body shot. The top carve is a little more obvious
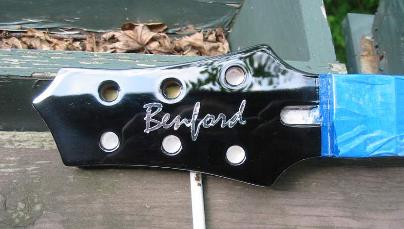
Body is finally out of paint! Turned out great. Cleared headstock
